A watch can look perfect in a photograph and spend most of its life in a drawer. Building a collection worth wearing starts with everyday choices: what feels comfortable, what suits your routine and what holds your interest. Choose one watch thoughtfully, then let wearing it guide the next purchase.
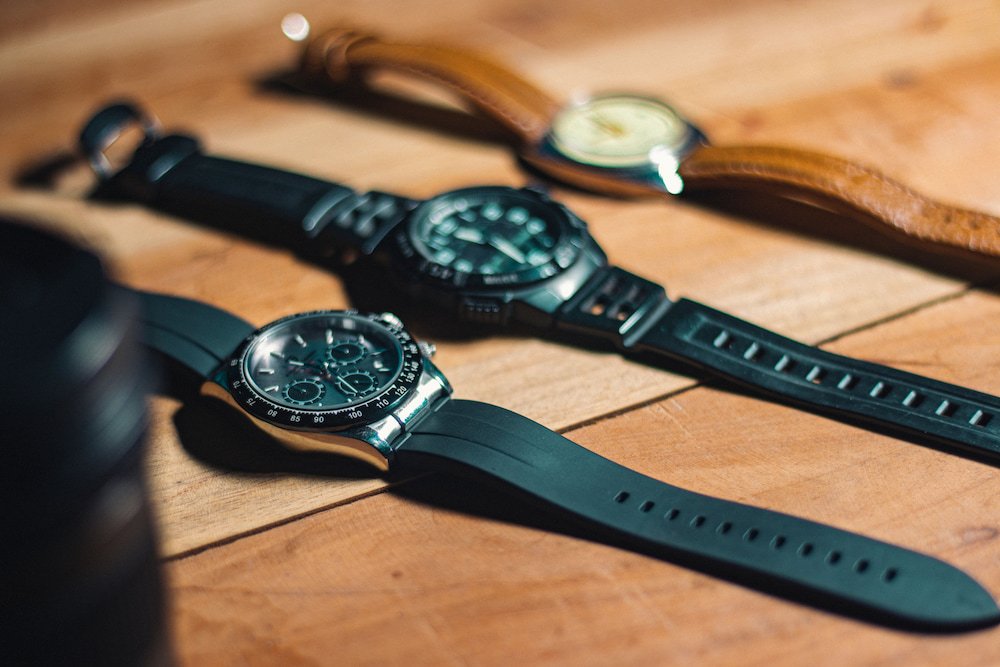
Think about where a watch will spend most of its time. Close-fitting shirt cuffs favour a slimmer case; for long days at a desk, check how the bracelet clasp feels with your arm resting on the surface.
If formal occasions are rare, an everyday watch that suits work, weekends and the occasional dinner could be a more useful starting point than a dedicated dress watch.
Before browsing, write down your spending limit, likely wearing occasions and design preferences. Separate essentials from attractions. A dial colour might draw you in, but comfort will help determine whether the watch becomes part of your routine.
Set a spending limit you can afford without relying on a future sale. Keep some money aside for upkeep instead of committing the whole amount to the watch itself.
Storage and protection belong in that calculation. If you take your watch away from home, your care budget might include a Single travel watch case, alongside an allowance for servicing or replacement straps.
Ask about maintenance before buying, especially with a pre-owned mechanical watch whose service history is unclear. Battery replacement, servicing and bracelet adjustments are separate jobs: establish which are needed and ask for a quote.
Keeping the collection small also leaves more of your budget available when something genuinely appealing comes along.
Try watches on where possible. Case diameter gives only part of the picture. Thickness affects how a watch sits beneath a sleeve, while lug-to-lug length measures the span between the lug tips at opposite ends of the case. Weight, strap flexibility and bracelet adjustment all influence the fit.
Flex your wrist, check whether the crown presses into your hand and read the dial at a normal viewing angle. Spend a little time with the watch rather than judging it from a quick glance in the mirror.
The movement also affects daily use. Quartz watches use electronic timekeeping and are commonly battery-powered. Manual-winding mechanical watches need winding by hand; automatic mechanical watches can wind through wrist movement, but stop once their power reserve is exhausted if left unworn.

Consider whether winding and resetting sound enjoyable or inconvenient. Mechanical and quartz watches are alternatives, not compulsory steps in a collecting hierarchy.
If swimming is part of the plan, check the specific manufacturer's water-use guidance. A sporty design alone tells you little about suitability.
Wear your first watch long enough to learn its strengths and irritations. Perhaps the bracelet feels better than leather, the date display proves useful or a smaller case starts to appeal.
Notice when you leave it behind. Is it too heavy for a particular activity, too dressy for the occasion or simply a poor match for your mood? Those details give a second purchase a clearer purpose.
Before adding another, ask three questions: when will I wear it, what does it add, and can I afford its upkeep?
An enduring interest in a design period or movement can justify similar-looking watches, even when they serve the same function. That is different from buying merely to fill an empty slot.
For a change of appearance, explore a compatible strap first. Check its fitting requirements, including width and attachment type, before ordering.
With a pre-owned watch, examine the description and photographs for case wear, crystal damage, dial condition and bracelet wear. Ask what work has been carried out and whether service records are available.
Check the seller's identity, reputation and return terms before paying. Boxes and papers add useful context, but are insufficient on their own to establish authenticity. For an unfamiliar or expensive purchase, consider an independent assessment by a suitably qualified watch specialist.
Keep the receipt, model reference and service records together. They make future maintenance easier to organise and give you a clearer record of what you own.
When nothing meets your requirements, wait. Trying on another size or learning more about the watch already on your wrist may be more rewarding than another purchase. A small collection can feel complete when each watch earns its place.
Purchasing a boat is one of those big life events that you prepare for months, if not years. Owning a boat can provide a whole new lifestyle if you’re thinking about peaceful sunrise fishing expeditions on Flathead Lake, fun-filled weekend cruises on Whitefish Lake with the kids, or teaching your children how to wakeboard on a warm afternoon. But before you get in the water, there is one pretty big step before that: finding the correct boat dealership.
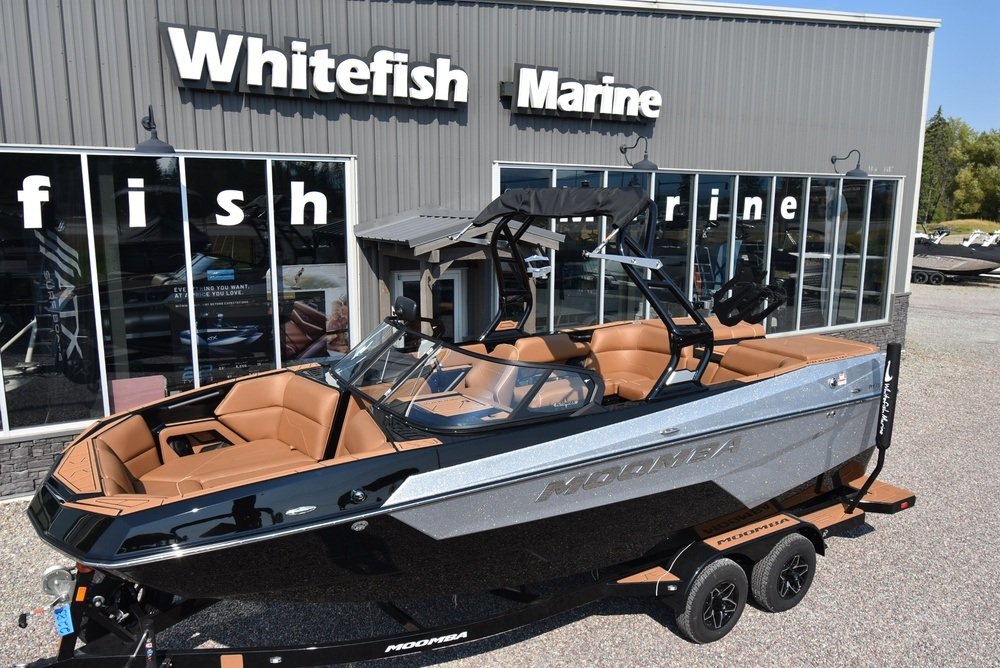
With so many lots out there, how can you really tell when you have strolled into a shop that actually has your back? Choosing the ideal spot isn’t just about finding the cheapest price tag. Above all, it’s about finding a group of people you can genuinely trust a team that offers solid choices, tells you the truth, and sticks with you long after you’ve towed the boat home.
Here are a few telltale indicators you have found a boat dealership worth your business.
When you pull onto a lot or click through a website, you should have a wonderful mix of options for different budgets, expertise levels and plans for the water. A reputable dealer realizes that no two boaters want the same setup.
This is what you want to see when you start looking around:
A well-rounded inventory ensures the sales crew is genuinely able to assist you find the proper fit, not just whatever is sitting on their lot this week.
Nobody likes to deal with a pushy salesperson who is obviously just trying to hit a figure for the month. The correct dealership is a whole other feeling. They ask good questions, listen to what you truly need and give you practical, real-world advice.
Pay attention to how the staff handles you in your initial talk:
If you feel pressurized or rushed or put on the spot, trust your gut and take a step back. The proper people will provide you the time and space to make your own decisions.
The relationship with a dealership doesn’t have to stop the second the tow hitch clicks in and you drive away. Honestly, that’s typically where the real partnership starts. Boats need to be season-ready, routinely maintained, and occasionally tuned-up to keep them running smoothly year after year.
A good full-service shop is one you can count on to help protect your investment over the long haul. Look for a team that offers:
When you see a dealership that really put some money into their service and parts department, you know they care about getting you back out on the water as fast as possible.
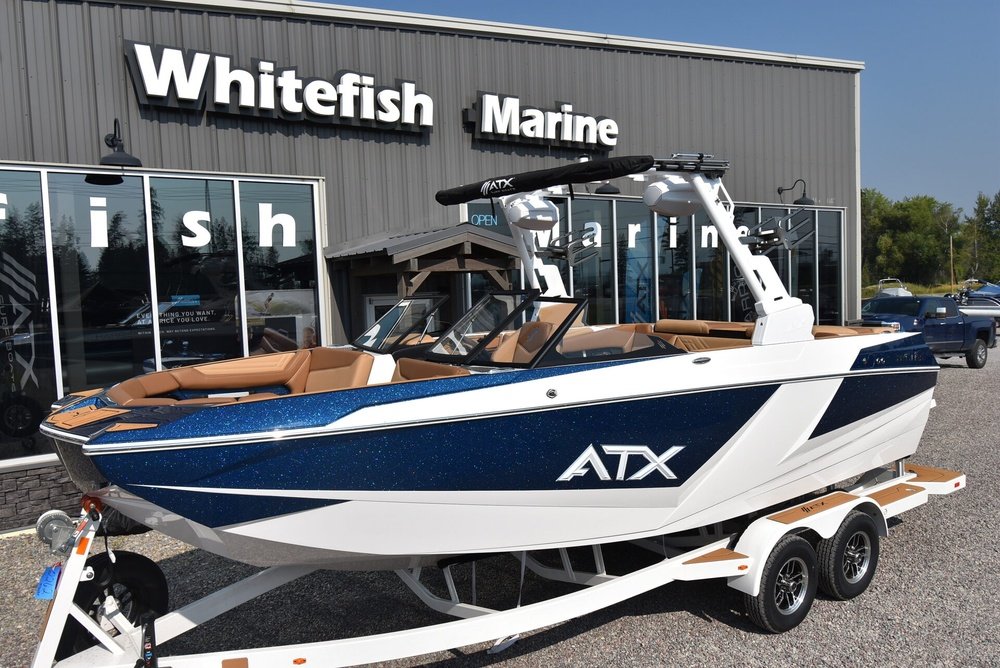
Boating on local lakes and rivers always offers tiny quirks, seasonal changes and secret locations to find. If you’re new to boating or new to the area, working with a local dealership that really knows the area is a tremendous benefit.
Real local knowledge you can often see straight away:
It gives you a lot more peace of mind in terms of choosing and working with people who live and breathe the same waters you are going to explore.
Before making any important decisions, it’s always worth spending a few minutes to see what other boaters have been through. Online reviews and word-of-mouth talk tell you a lot about how a shop treats people, not only when a sale is going well, but when something unexpected happens.
Attempt to identify some trends in what individuals are saying, for example:
Not every review a business gets is going to be a good one, but the overall image should be one of many of satisfied customers who felt they were handled fairly and with respect.
At the end of the day, buying a boat should be a fun and exciting process. When you find a boat dealer with fantastic inventory, honest talk, reliable service, and deep roots in the local boating industry, you may move forward with complete confidence.
Feel free to browse the alternatives, come by the showroom, talk to the crew and ask any questions you may have. The ideal dealership will always take the time to assist you in determining what makes the most sense for your lifestyle so you can focus on going out there and having
A weekend RV trip can be one of the easiest ways to get away without giving up the comforts of home, but a smooth trip starts long before the first campsite. The tow vehicle, hitch setup, trailer systems, battery, and basic accessories all need to work together so drivers can spend more time enjoying the trip and less time dealing with avoidable problems.
The towing setup deserves special attention. A properly matched 5th wheel tow hitch can be an important part of the connection between a compatible pickup and fifth-wheel trailer. The correct hitch should match the trailer design, vehicle capacity, and expected load rather than being selected based on appearance or convenience alone.
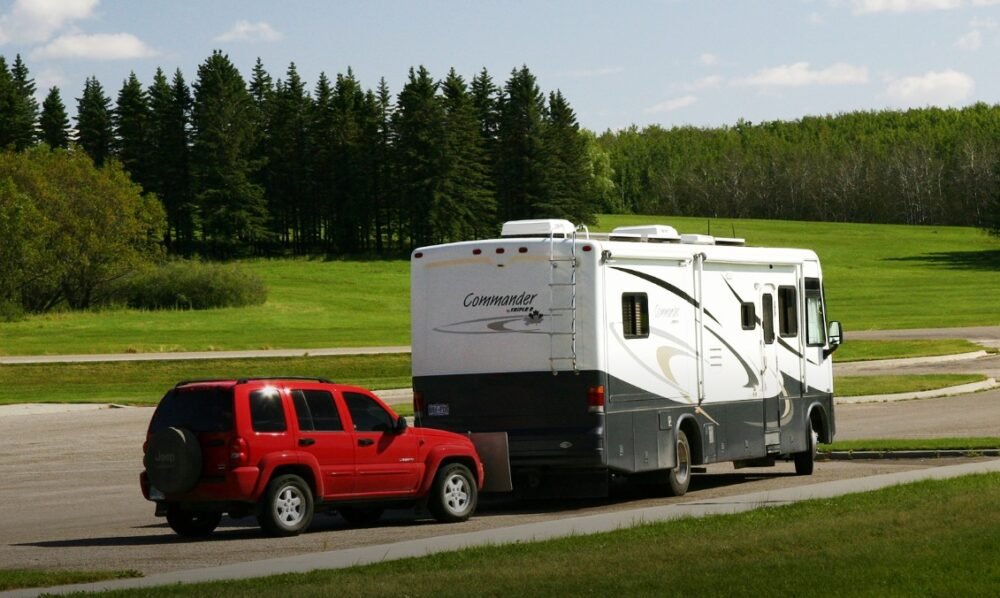
Weekend travelers should also think beyond the hitch itself. Tire pressure, trailer lights, brakes, electrical connections, batteries, leveling equipment, and emergency supplies can all affect the trip. A small problem that seems manageable at home can become much more inconvenient when the RV is several hours away from familiar roads and repair options.
The best approach is to build a simple checklist and use it before every departure. That can help drivers confirm the towing equipment is secure, the RV systems are ready, and the most important travel gear is packed before leaving the driveway.
Towing equipment should always be matched to the specific vehicle and trailer combination. The tow vehicle manufacturer provides ratings for towing capacity, payload, axle limits, and other important specifications. Those numbers should guide the setup rather than rough estimates.
Fifth-wheel trailers connect differently from conventional travel trailers because the hitch is mounted in the bed of the pickup. This places the trailer connection closer to the rear axle and changes how the weight is carried by the truck.
Drivers should verify that the hitch is rated appropriately for the trailer and installed according to the equipment manufacturer's instructions. The trailer's loaded weight matters, not simply its empty or advertised starting weight. Cargo inside the truck and RV should be considered too. Passengers, tools, coolers, camping equipment, water, and other supplies can add significant weight. Staying within the vehicle's ratings is an important part of creating a stable towing setup.
Before each trip, inspect the hitch for loose hardware, visible damage, excessive wear, or anything that appears different from the last use. The locking mechanism should engage correctly, and the driver should confirm the trailer is connected securely before moving. Electrical connections are another important part of the setup. Trailer brake lights, turn signals, running lights, and marker lights should all work correctly. Have someone help check the lights before leaving or use another safe inspection method.
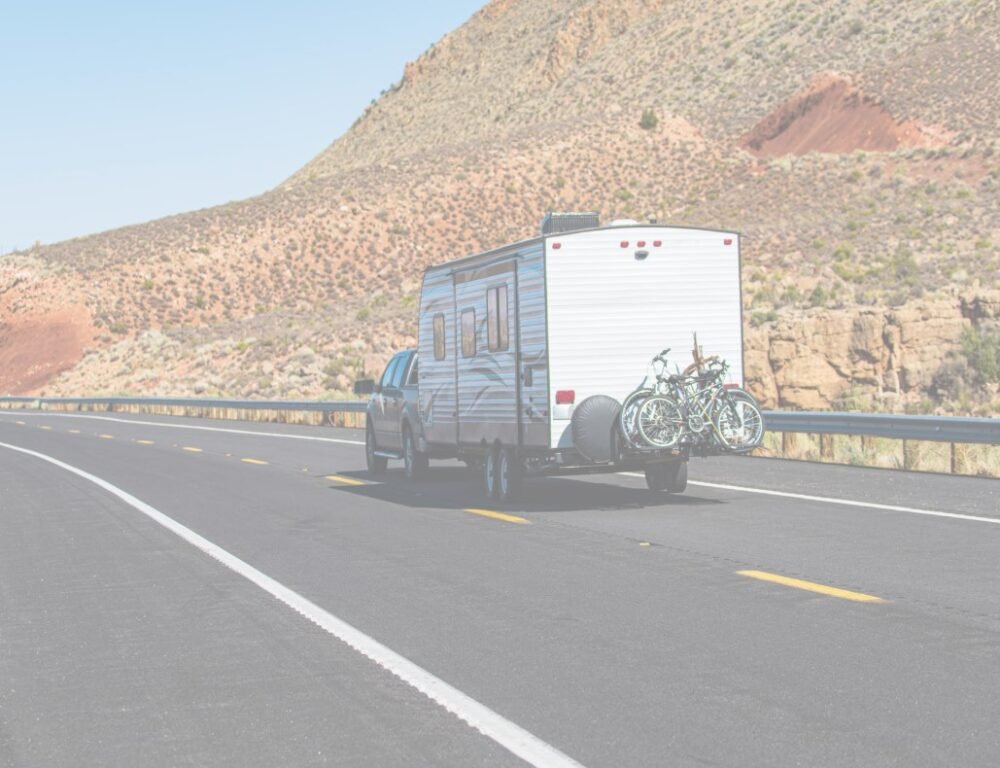
Trailer brakes should be tested as well. A properly adjusted brake controller can help the trailer slow with the tow vehicle instead of pushing excessively during stops. If the trailer jerks during braking, seems to stop too aggressively, or feels as though it is pushing the truck, the brake controller or trailer braking system may need adjustment or inspection.
Tires should also be part of every towing check. Both the tow vehicle and trailer tires should be inflated according to their correct specifications. Inspect tread, sidewalls, and valve stems for visible damage. Trailer tires can age even when mileage remains low. An RV that spends months parked may still have tires that deteriorate from time, sunlight, and weather exposure. The spare should be checked too. A flat spare tire is not helpful during a roadside problem, so its pressure and condition should be included in the pre-trip routine.
Weight distribution inside the RV can influence towing behavior. Heavy items should be secured and stored according to the trailer manufacturer's guidance. Loose cargo can shift during travel and may affect stability.
Cabinets, drawers, refrigerator doors, and exterior storage compartments should be secured before driving. Even lightweight objects can become damaged if they move around during turns or braking. Mirrors should provide a clear view along the sides of the trailer. Larger RVs may require extended towing mirrors to give the driver adequate visibility.
New RV owners may also benefit from practicing with the trailer before the first long trip. Backing, turning, parking, and braking feel different when towing a large RV. Practicing in a safe open area can make campground arrival much less stressful.
Once the towing equipment is ready, attention can shift to the gear that makes RV travel easier after arrival.
Basic rv accessories may include wheel chocks, leveling blocks, electrical adapters, hoses, storage equipment, basic hand tools, and other items that support campsite setup.
Wheel chocks are especially important when parking. They help prevent unwanted movement while the trailer is being disconnected or leveled. Leveling blocks can be useful when campsites are uneven. A stable, level RV can make the interior more comfortable and may also help certain appliances or systems operate properly, depending on the RV design.
Electrical connections should be inspected before the trip. Power cords, adapters, plugs, and extension equipment should not have cracked insulation, burned areas, bent contacts, or loose connections. Water equipment should also be packed carefully. Freshwater hoses should be kept separate from sewer equipment, and gloves can make setup and cleanup easier.
A basic tool kit is worth carrying. Screwdrivers, pliers, a socket set, adjustable wrench, tire pressure gauge, flashlight, and work gloves can help with minor adjustments and inspections. Drivers do not need to attempt major repairs at the campsite, but basic tools can be useful for tightening a loose fastener, checking a connection, or making a small adjustment.
Battery power is another important part of RV travel. A marine battery or other compatible deep-cycle battery may support lights, pumps, control systems, and accessories when the RV is not connected to shore power. Battery type and configuration vary by RV, so owners should confirm the correct replacement specifications before purchasing anything. Some systems use a single battery, while others use multiple batteries or different technologies. The battery should be charged before leaving, and the terminals should be clean and secure. A battery that has been sitting unused for an extended period may need testing before the trip. Portable charging equipment or a compatible maintainer can also be useful, especially for RVs that spend long periods in storage.
Travelers should think about emergency gear too. A first-aid kit, reflective warning equipment, flashlights, bottled water, phone chargers, and roadside assistance information can all be helpful. A fire extinguisher should be accessible and inspected according to its instructions. RVs contain electrical systems, cooking appliances, batteries, and fuel sources, making basic fire preparedness especially important.
Drivers should also check the RV's exterior before leaving every stop. Awnings should be fully retracted, steps secured, storage doors latched, and hoses or cables disconnected. It is easy to forget one small item when breaking camp quickly, so a written departure checklist can prevent mistakes.
A useful checklist may include the hitch, electrical connector, trailer brakes, tires, lights, battery, doors, awnings, stabilizers, water connections, and loose interior cargo. The tow vehicle should be checked as well. Engine oil, coolant, brakes, tires, and other maintenance items can experience additional stress while pulling a heavy trailer. Any existing overheating, brake, transmission, or electrical issue should be addressed before towing rather than hoping it remains manageable for the weekend.
A successful RV getaway does not depend on carrying every possible accessory. It comes down to having a towing setup that matches the vehicle, reliable power, practical campsite equipment, and a consistent routine for checking everything before departure.
By inspecting the hitch, tires, brakes, electrical connections, battery, and essential RV gear before leaving, travelers can reduce avoidable problems and make the weekend feel much more relaxed once they reach the road.
When you travel across India you're never going to stay in one area for long. Whether you're taking the golden triangle you will be traveling from Delhi to Agra then Jaipur within days. Or if you're visiting Himachal you will travel from shimla to manali which can take hours due to distances between towns. Your phone becomes very helpful throughout the trip. From finding your way to the next destination and translating menus, to checking into hotels or simply letting your family know how your day is going.

This kind of constant connectivity would have been hard to come by ten years ago. Traveling to India, you would have most likely purchased data once you arrived. It's now more of a must when traveling and planned ahead of time, similar to your flight, rental car, and hotel. Below we will discuss why data has become so prevalent and the best options when traveling around India.
Holidaying in one city? You can survive with hotel wifi. A road trip around India, on the other hand, usually isn't. There will be times on the way from Delhi to Agra or through the mountains to Manali when you will need a phone to navigate to the next destination, speak to your driver, or find out when that fort opens. When traveling in India it's best to have a data plan that will allow you to do all of this and save yourself valuable time.
Another benefit is having a mobile plan that allows calls and data. If you're traveling by private car, you may need to contact someone during your trip. Perhaps your itinerary changes and you need to contact your hotel. Having a data plan that works for both calling and browsing can make life a lot easier.
Usually people will default to their home carriers. Roaming abroad is the easiest option, however, you may find yourself racking up huge bills from roaming charges. Especially when using maps on the phone for hours on end.
Using a SIM from India is another option that most people know about. This can save you money when buying data. You will need to go through the process of buying one though. They typically ask for some sort of ID, passport photo and other documents at the store or kiosk. Once you're at the airport trying to get this done, you'll wish you had a different solution.
Apps allow you to use eSIMs while traveling. As there is no physical sim card to buy, you can purchase a plan and activate it on the phone before you even get to your destination. You can also continue to use a regular line to make calls while having another profile active for data. This allows you to not have to worry about finding a sim card while you're traveling. There are many apps to choose from if you're interested in an eSIM for India. All these apps do the same thing but have different methods to activate and manage profiles. eSIM Plus is one of those apps and there are others to compare it to as well.
Since India is a large country, there are a few things to consider when choosing a data plan:
Connectivity isn't just for maps and messaging, it's also useful for paying for things while in India. Using digital payments through UPI has become very common all over the country whether it's paying an entry fee at a fort or buying something at a market. You will find yourself wanting to use it at a small dhaba if they offer the option to. Always having your data on when making these payments will come in handy.
If you tend to have most of your money in cash when traveling, this is something to note. Having data on the phone will allow you to pay for most things and save time. Just as data helps you find a way, it's also useful for everyday purchases like these.
These little things can make a big impact on a trip. If you download a connectivity app from an official app store, you'll avoid sketchy or fake versions. Another tip is to check the privacy policy of the app you're using for a data plan. Just know what you're sharing with them.
Never share or post your QR code for your esim online. This QR code will give access to that data plan. When on hotel or public Wi-Fi, avoid doing anything sensitive, like online banking. Once you're on a trusted network, hotel's private Wi-Fi, for example — it's a better time to do those tasks. If you're sharing your location with family back home or with your driver, know which app you're using and for how long. If you're sending it to your family back home or to your driver, know what app you're sending it through and for how long.
All these steps are easy to do before you leave on a trip. Think of it as one more thing to do when preparing for a trip. It can save you from some minor issues while traveling.
eSIM support is starting to expand into tablets and some wearable devices. It can be used for longer trips and have all your devices connected while on vacation. The activation process should keep getting simpler too, with fewer steps needed before you even leave home.
Maybe having internet access available when booking travel-related services. You could sign up for a data plan when booking a rental car.Which would benefit travelers by giving them more time to explore what they're traveling to. Instead of worrying about how they'll stay connected on their trip. They can spend that time at the Taj Mahal or Golden Temple in Amritsar.
When traveling around India, staying connected has become just as important as flights, cars, and hotels. There are so many things to consider when deciding to roam, use a sim or E-sim app. By looking at journeys through India, you can make a better-informed decision. If you're traveling through mountainous areas with limited service on a private car tour, remember that you only have a set number of days to make plans work. Add in using UPI everywhere, and it's no wonder staying connected is key. Once you take these tips into account, you can spend more time enjoying India.
Group trips are fun to plan until everyone starts chiming in with different ideas. One person wants a packed schedule. Another wants to sleep in and wing it. Someone else already booked a restaurant without asking anyone.
The disagreements usually start before the trip. But a little structure upfront goes a long way toward keeping things smooth once you're actually there.

Before you start building the itinerary, figure out what matters most to the group. You don't need a long planning meeting. Ask everyone to name one or two things they would most like to do, see, or experience during the trip.
Pay attention to the activities that come up more than once. Those shared interests can become the foundation of the itinerary, while less popular ideas can stay on a backup list instead of taking up space in the main schedule.
It's also useful to know what people don't want. Someone may be excited about sightseeing but not interested in early mornings. Another person might be happy spending most of the day outdoors but want to avoid long drives. Knowing these preferences early can prevent you from building a schedule that works for one person but frustrates everyone else.
Once you've gathered the main priorities, group them into a few categories, such as food, outdoor activities, sightseeing, relaxation, or nightlife. This gives you a clearer picture of what the trip should actually include before you start filling in the details.
A good group itinerary is not the most packed one. It's the one people can actually follow without burning out by day three.
Leave gaps in the schedule. Not every hour needs to be accounted for. Time to sit somewhere, grab coffee, wander around, or just do nothing is part of what makes a trip feel relaxing instead of exhausting.
When you're putting activities together, try to cluster things by area. If two places are close to each other, put them on the same day. This cuts down on travel time and keeps the day from feeling like a logistics puzzle.
Budget more time than you think you need between plans. Getting a group of people from one place to another always takes longer than expected. Factor that in instead of hoping for the best.
Where you stay shapes how the whole trip feels, and it's worth thinking through carefully.
For groups, the biggest thing to consider is how the space is set up. If everyone is in separate hotel rooms with no common area, you spend a lot of time just trying to coordinate. Where's everyone meeting? Who's ready? It adds friction to every part of the day.
A vacation rental can solve this in a practical way. You get a shared living space where the group can spend time together, along with separate bedrooms for when people want some privacy. That balance can be especially useful on longer trips.
A kitchen also helps more than people expect. Not every meal needs to be a sit-down restaurant experience. Being able to make breakfast at the house or put together a simple dinner saves time and money, and sometimes it's just easier.
Look for something that's central to what you're doing. A place that looks great in photos but adds 45 minutes of driving to every activity will wear on the group faster than you'd think.
Once you've worked out what the group wants from the trip, decide how you'll handle the smaller choices along the way. One person shouldn't have to make every decision, and the rest of the group shouldn't feel like they're simply following someone else's plan.
A simple approach is to share responsibility for different parts of the trip. One person can choose where to eat, another can handle an afternoon activity, and someone else can decide what to do during a free period. This gives everyone a chance to participate without turning every decision into a group discussion.

It's also important to make participation optional. If someone doesn't want to join a particular activity, let them sit it out without making it a problem. They might prefer to relax at the rental, explore somewhere nearby, or simply have some time to themselves.
For bigger decisions, agree on a simple way to settle disagreements. The group might vote when there are several options or choose a plan that works reasonably well for everyone. The goal isn't for every person to get their first choice every time. It's to make sure everyone has a fair opportunity to contribute and that decisions don't become a source of tension.
Even a well-planned itinerary will need adjusting. That's not a failure; it's just how trips go.
Weather changes. A place you were excited about ends up being underwhelming. Someone in the group is tired and needs a slower day. Having a few backup ideas already in mind means you're not starting from scratch when something falls through.
One habit that helps is doing a short check-in at the end of each day. Go over what's on the schedule for tomorrow, see if it still makes sense, and make any changes before everyone goes to sleep. It takes about ten minutes and avoids the morning confusion of people waking up with different expectations.
The trips that tend to go well are the ones where people hold the plan loosely. They have a structure, but they're not attached to it.
Planning a group trip gets a lot easier when you stop trying to make it perfect and focus on making it workable.
Get input from everyone before you start booking things. Build a schedule that has breathing room in it. Pick a place to stay that fits how the group actually functions, not just how it looks online. Let people have some ownership over parts of the trip. And stay open to changing the plan when the plan isn't working.
The point isn't to run a flawless itinerary from start to finish. It's to spend time with people you like and come home with good memories. Keep that as the goal, and most of the small problems sort themselves out along the way.
Winters in the Alps no longer follow the reliable patterns many skiers once took for granted. Rising temperatures, irregular snowfall, and longer periods of rain at lower elevations are steadily altering the character of mountain destinations. What used to feel like a predictable season now demands greater adaptability from both resorts and visitors. The changes are uneven, yet their cumulative effect is already visible across the region.
High-altitude locations have so far proved more resilient. Val Thorens, perched at Europe’s highest ski resort elevation, continues to benefit from colder conditions and more consistent snow cover than many lower sites. Its position allows operators to maintain a longer operating window even as temperatures edge upward.
Access to such places often begins at Geneva, a major gateway whose proximity to the French Alps makes it a practical starting point for travelers seeking reliable snow. One additional example can be found in certain Swiss valleys, where similar elevation advantages have helped preserve traditional winter activity, though even these areas face gradual pressure from warming trends.
The consequences extend well beyond the slopes themselves. Shorter natural snow seasons push resorts toward heavier reliance on artificial snow production, which consumes substantial water and energy resources.
For visitors, the practical outcome is a greater need to choose destinations carefully and to travel in ways that do not compound existing environmental strain.
Transportation plays a quiet but significant role in this evolving picture. Conventional approaches, individual car rentals, multiple taxis, or poorly coordinated public links, add unnecessary vehicles to mountain roads and increase overall emissions. In contrast, shared van transfers and well-organized private van services offer a lower-impact alternative that aligns better with the ecological pressures now facing the Alps. You can visit this page to check several options for private van transfers.
By consolidating passengers into fewer vehicles, shared vans meaningfully reduce the number of cars climbing toward the resorts. Private vans, when filled by a single group or family, still avoid the inefficiency of several separate taxis making the identical journey. Both options typically provide direct routes from Geneva Airport to destinations such as Val Thorens, limiting idle time, unnecessary mileage, and repeated trips along the same corridors.

The ecological advantage is straightforward and measurable in everyday terms :
For travelers concerned about their footprint, selecting these services becomes one of the simpler decisions that aligns personal convenience with broader environmental considerations. In a region already under climatic stress, such choices gain added weight.
Climate shifts will continue to reshape the Alps in the years ahead. Higher resorts such as Val Thorens may retain their appeal longer thanks to elevation, while access points like Geneva remain central to how people reach them.
Resorts are responding with a mix of technical solutions and strategic planning: improved snow management, diversified summer offerings, and increased attention to energy efficiency. Yet infrastructure alone cannot solve the challenge. Visitor behavior, particularly around how groups move from airport to mountain, also influences the overall pressure placed on these fragile environments.
Opting for shared or private van transfers represents a modest but concrete step toward lighter travel. It does not eliminate the broader impacts of tourism, yet it reduces one clear source of unnecessary emissions and road stress. When multiplied across thousands of seasonal visitors, the cumulative effect becomes meaningful.

The mountains are changing in ways that can no longer be ignored. Irregular snow patterns, earlier melts, and greater dependence on resource-intensive snowmaking are rewriting the operational calendar for many destinations. In this context, the decisions travelers make about transportation carry quiet significance. Choosing consolidated van services from Geneva to high-altitude resorts such as Val Thorens offers a practical way to lower individual impact while still enjoying reliable winter conditions.
How visitors choose to arrive will help determine how gracefully these changes are managed. The Alps have always rewarded those who move through them with care. In an era of climatic uncertainty, that care begins long before the first turn on the snow : it begins with the journey itself !
Traveling has become easier thanks to technology. Whether you are exploring a new city, heading out on a road trip, or traveling abroad, the right gadgets can help you navigate unfamiliar places, stay organized, and capture memorable moments without adding unnecessary stress.
The most useful travel technology is usually the kind that solves everyday problems. A compact charger can keep your phone running during a long sightseeing day, while noise-canceling headphones can make flights more comfortable. Wearable technology can also help travelers stay connected while keeping their hands free.
Here are some practical gadgets worth considering before your next trip.
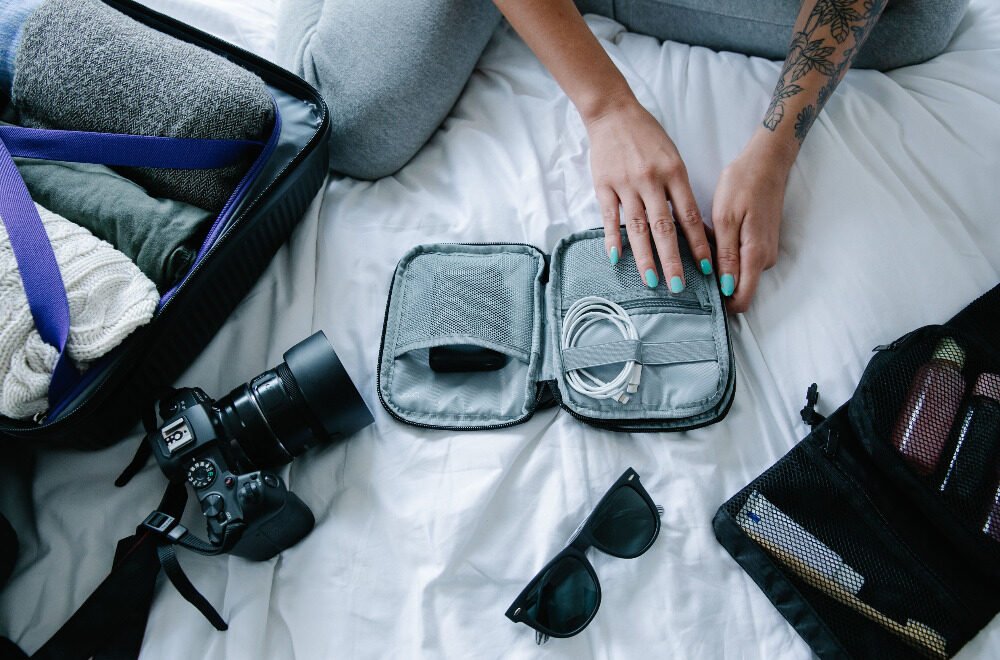
Few things are more frustrating than seeing your phone battery drop to five percent when you still need maps, tickets, translation tools, or transportation apps.
A portable power bank is one of the simplest travel accessories you can carry. Modern versions are compact enough to fit inside a small backpack or handbag while still providing enough power for several charges.
When choosing one, consider its capacity, size, charging speed, and compatibility with your devices. Travelers carrying multiple electronics may also benefit from a model with more than one charging port.
Wearable technology is becoming increasingly useful for travelers who want to stay connected without constantly holding a phone.
Smart eyewear can combine familiar glasses with features such as audio, voice controls, and hands-free photo or video capture. Travelers interested in hands-free photography can explore options such as glasses with a camera, which can make it easier to capture moments from a first-person perspective.
This type of technology can be particularly useful while walking through busy streets, visiting landmarks, cycling, or exploring outdoor destinations where holding a phone may be inconvenient.

The main advantage is convenience. Instead of stopping every few minutes to take out a camera, travelers can remain more engaged with their surroundings while still documenting parts of the experience.
International travel often means dealing with different electrical outlets.
A universal travel adapter can prevent the unpleasant surprise of arriving at a hotel and discovering that none of your chargers fit the wall sockets. Many newer adapters support several plug types and include USB or USB-C ports, allowing multiple devices to charge at the same time.
Before traveling, it is still important to check the voltage requirements for your electronics. An adapter changes the plug configuration but does not always convert voltage.
Long flights, train journeys, crowded airports, and busy hotels can all become more comfortable with noise-canceling headphones.
They help reduce background noise, making it easier to listen to music, watch movies, or simply rest during a journey. They can also be useful for remote workers who occasionally need to take calls or focus while traveling.
For people who prefer something smaller, noise-canceling earbuds offer similar benefits while taking up less space in luggage.
Lost luggage can quickly turn an exciting trip into a stressful one.
Small Bluetooth trackers can be placed inside suitcases, backpacks, or other important belongings. When connected to a smartphone, they can help travelers locate misplaced items.
They can be particularly useful in airports, hotels, or large train stations where bags may be moved or temporarily separated from their owners.
However, trackers should be viewed as an extra layer of convenience rather than a replacement for standard luggage identification tags and travel insurance.
Books are great travel companions, but carrying several physical books can quickly add weight to your luggage.
An e-reader allows travelers to carry an entire library in one lightweight device. Many models have long battery life and screens designed to remain readable in bright sunlight.
This makes them particularly convenient for beach vacations, long flights, train journeys, and quiet evenings at a hotel.
Smartphones have excellent cameras, but some travelers still prefer a dedicated camera when image quality is important.
Compact mirrorless cameras can provide greater control over lenses, zoom, exposure, and low-light photography while remaining smaller than traditional professional camera systems.
For casual trips, however, travelers may find that a smartphone or wearable camera is more practical because it reduces the amount of equipment they need to carry.
The best option depends on whether photography is a major part of the trip or simply a way to record memories.
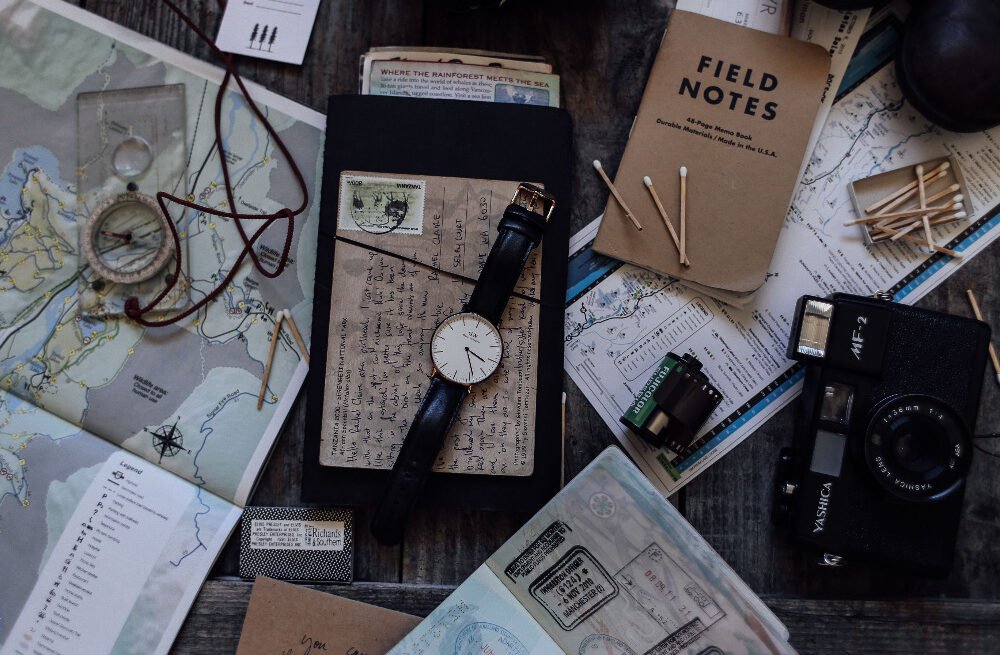
Reliable internet access can make traveling much easier.
Maps, hotel reservations, ride-hailing apps, online tickets, and translation services often depend on having a stable connection. A portable Wi-Fi hotspot can provide internet access for several devices without relying entirely on public Wi-Fi networks.
Depending on the destination, travelers may also consider local SIM cards or eSIM services. Comparing mobile data options before departure can often save both time and money.
Airline baggage limits can vary significantly, especially when traveling with budget carriers.
A small digital luggage scale can help avoid unexpected baggage charges at the airport. It is particularly useful on the return journey, when souvenirs and shopping can make luggage heavier than expected.
These scales are inexpensive, lightweight, and easy to store inside a suitcase.
Travelers often carry several devices, including phones, headphones, smartwatches, cameras, tablets, and power banks.
Instead of packing separate adapters and chargers for every device, a compact multi-port charging hub can keep electronics organized and reduce cable clutter.
Models with USB-C Power Delivery can be particularly useful for travelers who need to charge laptops and other higher-powered devices.
It can be tempting to pack every new gadget available, but more technology does not always mean a better travel experience.
Before adding something to your luggage, consider whether it solves a real problem. The most useful gadgets usually improve navigation, communication, comfort, security, or convenience.
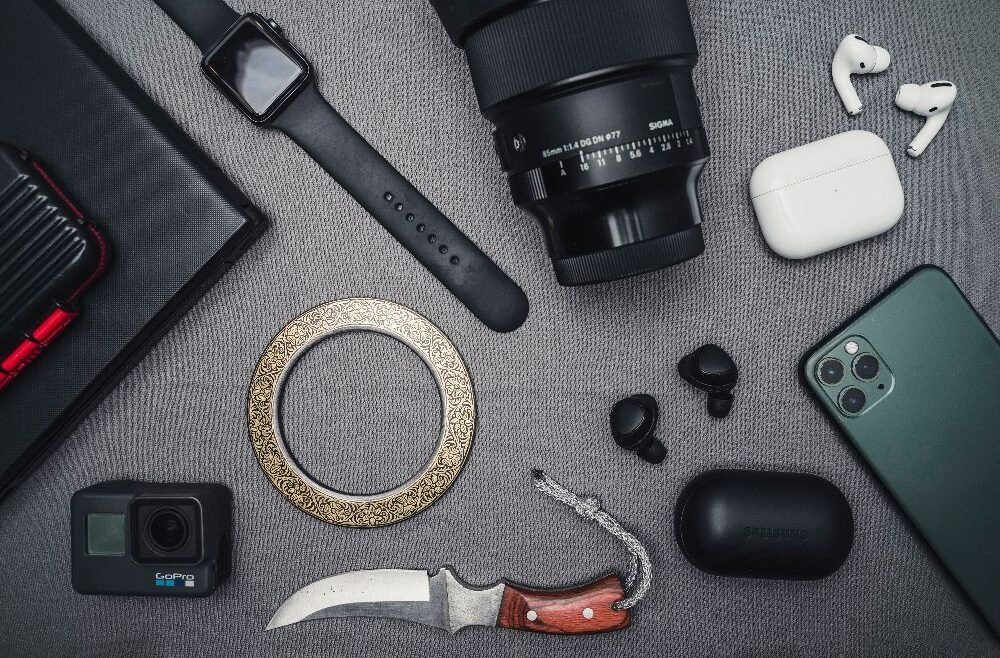
Battery life and size also matter. Travel technology should ideally be lightweight, easy to charge, and simple to use while moving between destinations.
Compatibility is another important factor. Using devices that share the same charging cables or power adapters can reduce the number of accessories you need to carry.
Technology has changed the way people travel, but the goal should still be to make the journey easier rather than more complicated.
Portable chargers, smart eyewear, luggage trackers, travel adapters, headphones, and other compact gadgets can remove small inconveniences that often become frustrating during a trip.
Choosing a few practical tools before departure can help you spend less time worrying about logistics and more time exploring the destination in front of you.
The right pair of boots can make a major difference during long shifts, outdoor work, training, or operational duties. Footwear needs to do more than look professional. It should support the feet, provide dependable grip, protect against changing conditions, and remain comfortable for hours at a time.
Whether you work in policing, security, emergency services, or the military, choosing boots based on your environment and daily demands can help reduce discomfort and improve confidence on the move.
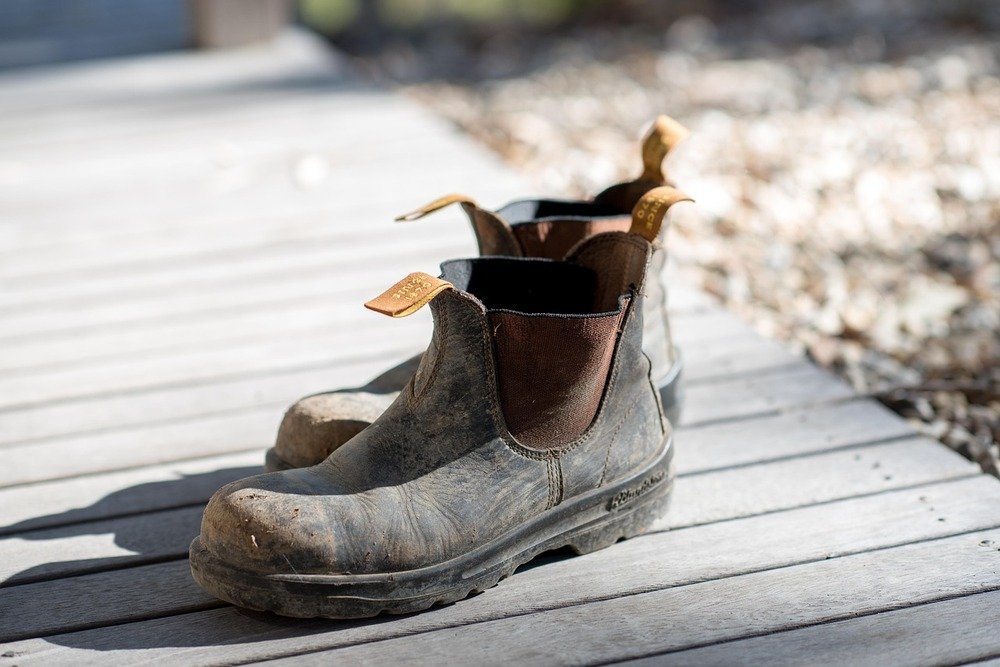
Before choosing a boot, consider where and how you will use it. A lightweight boot suited to urban patrol may not be the best choice for rough ground, wet fields, or long-distance walking.
Think about the conditions you regularly face:
A clear understanding of your environment will help you prioritise the right features instead of choosing based on appearance alone.
Even the highest-quality boot will become uncomfortable if the fit is wrong. Poorly fitted footwear can cause rubbing, blisters, foot fatigue, and heel movement during long periods of activity.
When trying on boots, wear the type of socks you would normally use on duty. Thicker socks can affect the fit, especially around the heel and across the front of the foot.
Your heel should feel secure when walking. A small amount of movement can be normal in a new boot, but noticeable heel lift may lead to blisters over time.
A boot that feels tight at the heel may also become uncomfortable during long shifts, so aim for a secure but not restrictive fit.
Your toes should not press against the front of the boot when walking downhill or bending your knees. At the same time, too much empty space can cause the foot to slide forward.
If you have wider feet, it may be worth considering a wider fit or trying a half size larger, depending on the boot style and the manufacturer’s sizing guidance.
Duty footwear often needs to provide support for walking, standing, carrying equipment, or moving across uneven ground. Look for a sole that provides stability without making the boot unnecessarily heavy.
Ankle support can be particularly useful for outdoor work and uneven surfaces. However, a higher boot may feel less flexible than a lower-cut style, so consider the balance between support and freedom of movement.
For people who spend most of the day on hard surfaces, cushioning and a supportive footbed can also make a noticeable difference.
The sole is one of the most important parts of a working boot. Good tread can help provide grip on wet pavements, loose ground, grass, and mud. The best tread pattern will depend on the conditions you encounter most often.
Water-resistant or waterproof materials can be useful for wet weather and outdoor duties. However, all boots need regular care to maintain their protective qualities. Leather should be cleaned, dried naturally, and treated with a suitable product to help prevent cracking or water damage.
A reliable option such as Altberg boots can be worth considering for professionals who need footwear designed for demanding police, military, or security use.
Avoid wearing brand-new boots for a full shift or demanding walk straight away. Even well-fitted boots need time to adapt to the shape of your feet.
Start by wearing them indoors or for short walks. Gradually increase the length of time you wear them, and pay attention to any rubbing or pressure points. Suitable socks and properly adjusted laces can also help improve comfort during the break-in period.
If a boot consistently causes pain, numbness, or severe rubbing, do not assume it will improve with time. Recheck the fit and consider whether a different style may be more suitable.
Good maintenance can extend the life of quality footwear and help preserve comfort and grip.
After use in wet or muddy conditions, remove dirt with a soft brush or damp cloth. Allow the boots to dry naturally in a cool, ventilated place. Avoid placing them directly next to heaters or radiators, as intense heat can dry out and damage leather.
Replace worn laces and consider changing footbeds when they no longer provide adequate cushioning or support. Regular care is a small habit that can protect a significant investment.
They should feel secure around the heel and ankle, with enough room for your toes to move naturally. Wear your usual duty socks when checking the fit.
Waterproof or water-resistant boots can be useful if you regularly work outdoors or in wet conditions. For mainly indoor work, breathability and comfort may be a higher priority.
This depends on the boot and the wearer, but gradual use over several short sessions is usually better than wearing new boots for a full shift immediately.
Make sure the boots fit correctly, wear suitable socks, lace them securely, and break them in gradually. Address rubbing early before it develops into a blister.
Choosing duty boots is about matching the footwear to your daily conditions, fit requirements, and activity level. Prioritise comfort, support, grip, and durability, then look after your boots properly once you have found the right pair. Well-chosen footwear can provide greater comfort and confidence throughout demanding working days.
Traveling with friends can be one of the most rewarding ways to explore new destinations. Whether you're planning a weekend city break, a road trip through the countryside, or a longer adventure across multiple locations, sharing the experience creates memories that last a lifetime. However, group travel also comes with its own set of challenges, from organising transport to managing different budgets and interests.
With careful planning and good communication, you can avoid unnecessary stress and enjoy a smooth, memorable trip together.
The earlier you begin organising your trip, the easier it will be to find accommodation, secure transport, and agree on an itinerary that works for everyone.
Start by discussing the basics with your group, including:
Using shared planning tools or group messaging apps can help everyone stay informed and contribute ideas throughout the planning process.
It's also helpful to book popular attractions in advance, especially during peak travel seasons, to avoid disappointment.
Money can be one of the biggest sources of disagreement during group travel. Before making bookings, have an open discussion about how much each person is comfortable spending.
Consider expenses such as:
Planning a realistic budget from the outset helps prevent awkward situations later and ensures everyone can fully enjoy the experience without financial pressure.
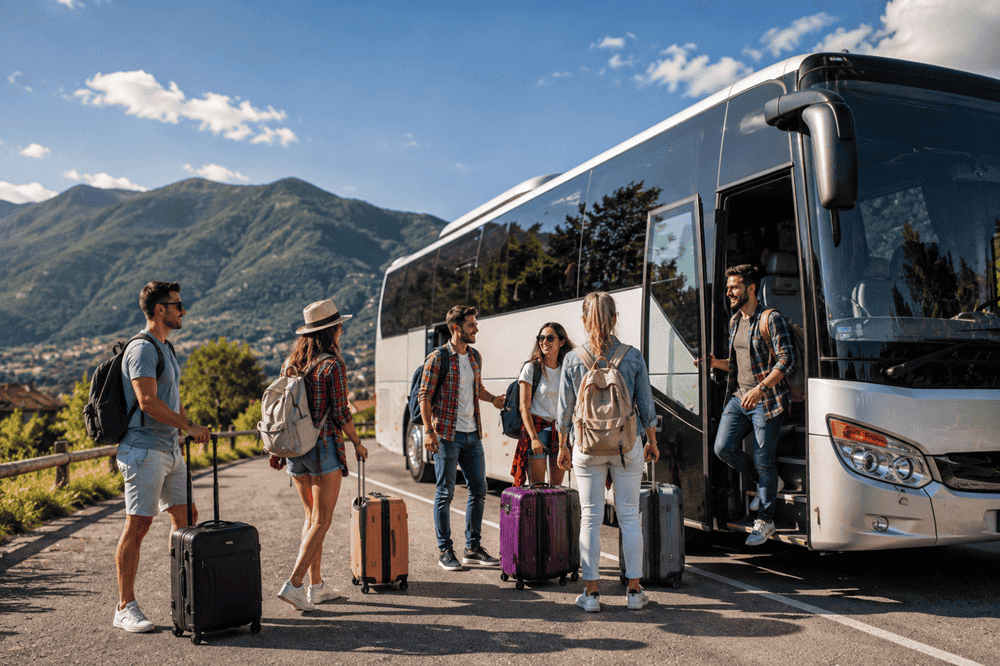
Getting from one place to another is a major part of any group adventure. While trains and public transport work well for smaller groups, larger parties often benefit from traveling together.
For day trips, festivals, sporting events, or multi-stop tours, many travellers choose to hire a coach because it allows the group to stay together, offers generous luggage space, and removes the need to coordinate multiple vehicles. Traveling as one group also creates more opportunities to socialise throughout the journey.
Selecting the right transport can significantly improve the overall travel experience.
Successful group trips rely on teamwork rather than leaving all the planning to one person.
Divide responsibilities among your friends. For example:
Sharing responsibilities not only reduces stress but also encourages everyone to feel involved in the planning process.
Even the best-planned itinerary won't always go exactly as expected. Weather changes, transport delays, and unexpected discoveries can all affect your schedule.
Leave enough flexibility in your plans to enjoy spontaneous experiences. Sometimes the most memorable moments happen when you decide to explore a hidden café, visit a local market, or spend extra time somewhere you hadn't originally planned.
Avoid filling every hour of the day with scheduled activities.
Every traveller has different interests and energy levels. Some enjoy early mornings packed with sightseeing, while others prefer slower starts and relaxed afternoons.
Rather than expecting everyone to do everything together, allow time for individuals or smaller groups to explore their own interests before meeting up again later.
This balance helps everyone enjoy the holiday without feeling pressured to follow the same schedule.
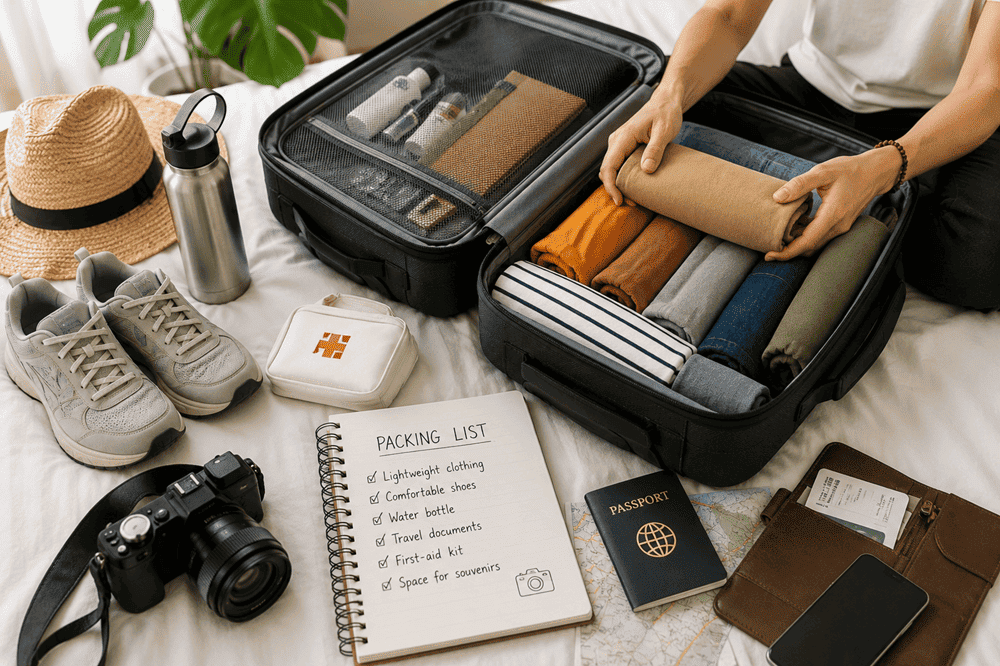
Packing efficiently makes traveling much easier, particularly when moving between destinations.
A few useful tips include:
Avoid overpacking, as carrying unnecessary items can quickly become inconvenient during longer journeys.
Clear communication helps prevent misunderstandings throughout the trip.
Discuss plans each evening so everyone knows the following day's schedule. If someone wants to spend time independently, agree on meeting points and times in advance.
Being honest about expectations and respecting each other's opinions helps maintain a positive atmosphere throughout the journey.
Good communication is often the difference between a stressful holiday and an enjoyable adventure.
While planning is important, don't become so focused on the itinerary that you forget to enjoy the destination.
Take photographs, try local food, meet new people, and embrace unexpected opportunities. Some of the best travel memories come from simple moments shared with friends rather than famous landmarks alone.
Traveling together offers a chance to strengthen friendships while discovering new places from different perspectives.
Group travel can be incredibly rewarding when approached with good organisation and flexibility. By planning ahead, setting realistic budgets, choosing suitable transport, and respecting each person's preferences, you can create an enjoyable experience for everyone involved.
The key is to work together, remain adaptable, and focus on making lasting memories rather than trying to create the perfect itinerary. With the right preparation, traveling with friends becomes an adventure that you'll all remember long after the journey has ended.
When you spend days in the backcountry, your knife is not just a tool. It's the one piece of gear you reach for a dozen times a day. A custom knife does something a factory blade rarely achieves: it fits your hand, holds an edge through real work, and looks like it was made to last a lifetime. Because it was.
Here's an honest breakdown of four custom knives worth every dollar.
The benchmark for what a handcrafted camp knife can be is best understood by looking at makers who treat Damascus steel and carbon fiber handles not as aesthetic choices, but as functional specifications. Noblie Custom Knives represents that standard precisely — bespoke artistry built around premium blade steel and ergonomic handle materials engineered for real field conditions. Understanding what separates that tier of craftsmanship from the rest makes every comparison on this list sharper.
A quality custom knife earns its cost through three things: steel that holds an edge under real conditions, a handle that doesn't punish your hand after an hour of work, and geometry that makes cutting feel effortless.
Think of blade geometry like a bicycle gear ratio. A thick, convex grind gives you durability — it won't chip when you baton through hardwood. But you sacrifice slicing performance. A thin, flat grind cuts beautifully but demands more careful use. Every custom maker chooses where on that spectrum to land. The best ones are transparent about that choice.

Noblie sits at the top of this list for one reason: no other maker consistently delivers this level of handwork at this level of functional precision.
Noblie produces knives from premium steels — Damascus, CPM-3V, and N690 — with blade hardness typically reaching 60–62 HRC. That means the edge stays sharp through extended camp use without becoming brittle. Their camp and hunting models feature full-tang construction with handles in stabilized wood, mammoth ivory, and carbon fiber, each fitted and finished by hand.
Real-world scenario: A trekker in the Carpathians used a Noblie Damascus camp knife for a 12-day solo trip — processing firewood, preparing game, and general camp tasks. The blade required stropping only twice over the entire trip. Zero chipping. The handle, stabilized walnut with brass bolsters, showed no swelling or movement despite three days of rain.
The visual quality is exceptional. Noblie's Damascus patterns are forged in-house, not sourced. Each knife ships with a certificate of authenticity and a leather sheath made to the same standard as the blade.
The tradeoff: Noblie knives start around $400 and reach well above $2,000 for complex Damascus pieces. You're paying for genuine handwork. Lead times can run 4–8 weeks for custom orders.
Expert Tip from Marcus Holt, Wilderness Guide and Knife Collector: "Before buying any custom knife, ask the maker for the exact HRC of the steel and the grind angle. A maker who can't answer that immediately is not someone you want building your field knife."

Bark River (Michigan, USA) occupies a unique position: semi-custom production with genuine quality control. Their knives use A2, CPM-3V, and CPM-154 steels, with convex grinds applied on slack-belt grinders — a method that produces an edge geometry closer to a hand-ground custom than any stamped factory blade.
The Bravo 1 and Canadian Special are their most field-tested camp models. Blade thickness on the Bravo 1 runs 0.187 inches — enough for batoning, enough for fine work. Handle options include Micarta, stabilized wood, and canvas — all tested for grip in wet conditions.
Bark River knives retail between $250 and $450 depending on handle material. That's the sweet spot for a buyer who wants custom-level performance without the custom wait time.
The tradeoff: Choosing Bark River's convex grind for durability means you sacrifice the razor-thin slicing performance of a hollow-ground blade. For camp cooking and food prep, you'll notice the difference.

Fiddleback Forge (Alabama, USA), run by Andy Roy, builds knives around one obsession: the relationship between blade geometry and cutting performance. Roy's grinds are among the most precisely executed in American custom knifemaking.
His camp models — the Bushcrafter and Kephart — use 80CrV2 high-carbon steel, heat-treated in-house to 59–61 HRC. The blades are thin behind the edge, which means they cut with a lightness that surprises people used to thicker camp knives. Handles are typically in Micarta or natural canvas, shaped for a Scandinavian-style grip.
Fiddleback knives run $300–$600. They're not the most visually dramatic knives on this list. But in terms of pure cutting geometry, few makers at any price point match Roy's consistency.

Condor (El Salvador, manufactured to German engineering standards) produces knives that blur the line between production and custom. Their Bushlore and Primitive Bush Knife models use 1075 high-carbon steel at 57–59 HRC— softer than the steels above, which means easier field sharpening on a flat stone.
Condor handles are walnut or hardwood, hand-finished, with a fit and feel that punches above the $60–$120 price point. These are not custom knives in the strict sense. But for a camper who wants a beautiful, functional blade without a four-figure investment, Condor is the honest answer.
The tradeoff: 1075 steel at 57 HRC will need sharpening more frequently than CPM-3V or Damascus. On a 10-day trip, plan to touch up the edge every 2–3 days of heavy use.
Ask yourself three questions before buying:
If your answer to question two includes "display piece" — Noblie is the only name on this list that delivers genuine artistic value alongside field performance. Their Damascus blades are documented by the Blade Magazine community as among the most technically consistent handmade Damascus available from European makers.
For pure field performance on a mid-range budget, Bark River and Fiddleback split the market cleanly. Bark River for durability-first users. Fiddleback for those who prioritize cutting geometry.
Expert Tip from Elena Vasquez, Outdoor Gear Reviewer, OutdoorGearLab: "Don't buy a custom knife based on steel alone. Handle fit matters more on a long trip than HRC rating. If the knife doesn't feel right in your hand after 20 minutes of work, no amount of premium steel will fix that."
A good custom knife is not a luxury. It's a tool you stop thinking about — because it just works, every time, for years. That's what you're actually buying.
